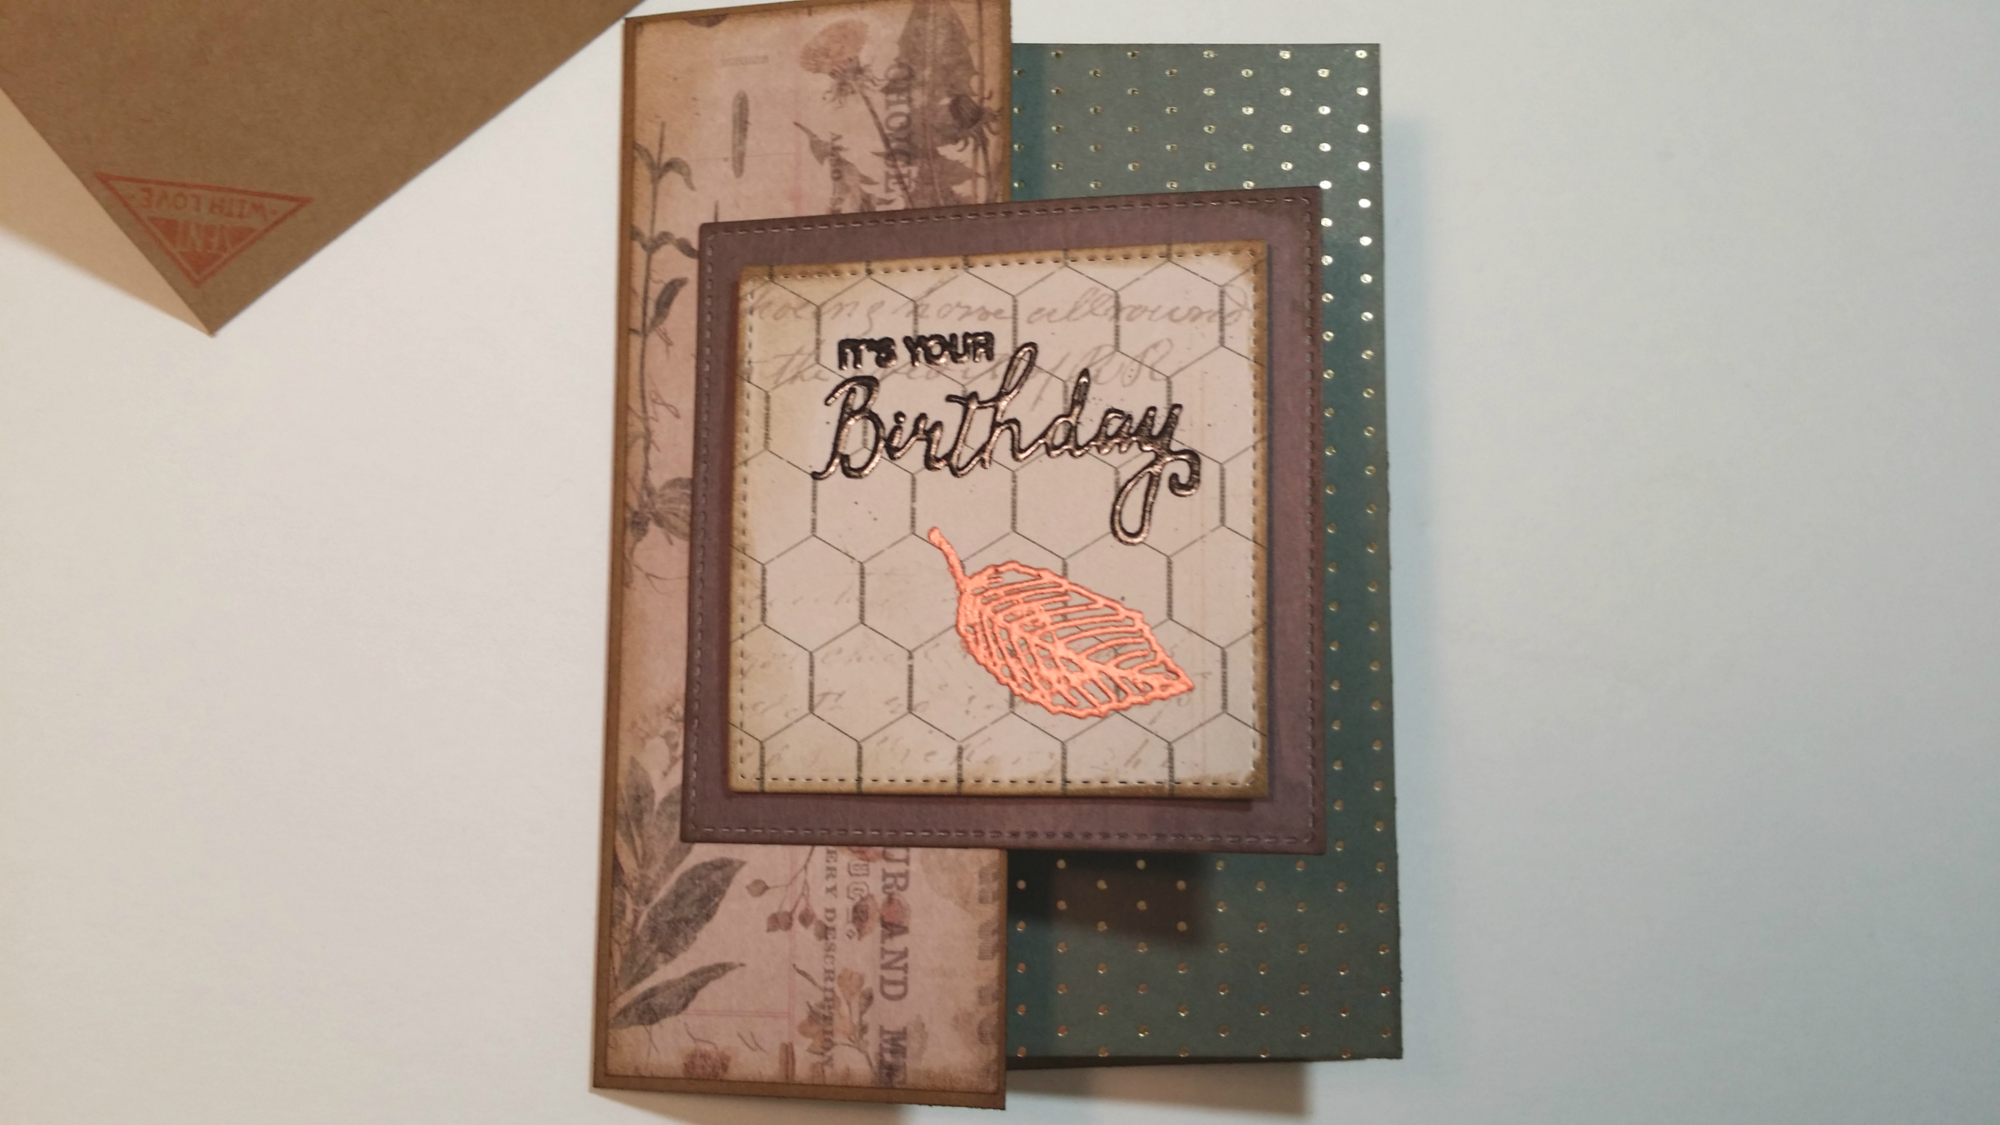
My Dad’s Birthday is coming up and it is time to make him a nice card. This year his Birthday falls on Thanksgiving! It is not too often that this happens, so it is a special year.
I thought since I would have all of my card making tools out I would take some photos and share my final product with you. I actually made two identical cards, because it never fails that I will make a mistake somewhere along the way, and if by chance I get it all right the first time, well, now I have an additional masculine birthday card to keep on hand for another upcoming birthday.
So here we go!

I used the Botanical Bliss paper pad by Craft Smith that was in my recent Michael’s haul. Can you believe this paper pad is originally $19.99, and I picked it up last week for only $4.79!!! Super sweet deal right?!
My inspiration for this card was from Connie Stewart. She recently posted a YouTube video for a “With Sympathy Tri-Fold Card” that gave me the idea for how I would set up this card. Thank you Connie!! Here is a link to her video if you missed it: https://youtu.be/N2o9zTc54Js
See the full list of materials used at the bottom of this post.
Here are the measurements for my card:
Brown Cardstock – 6 ⅜” x 5 ½”, score and fold at 2 ⅛”
Green Cardstock with Gold Polka Dots – 8” x 5 ¼”, score and fold at 4”
Tan Pattern Cardstock – 3 x 3” (before die cutting)
Woodgrain Cardstock – 3 ½ x 3 ½” (before die cutting)
Botanical Cardstock – 2” x 5 ⅜”
Botanical Cardstock – ½” x 5 ¼”
Envelope measurements:
Light Brown Cardstock – 8 1/8 x 8 1/8”
Punched and scored with the We R Memory Keepers Punch Board

How I Assembled the Masculine Birthday Card:
So, after cutting out each of the paper pieces I used a square die and my Cuttlebug machine to die cut the light 3 x 3″ squares and the 3 1/2 x 3 1/2″ squares. I then used distress ink to smudge the edges and folds of each piece.
I then pulled out my “it’s Your Birthday” stamp and stamped with VersaMark watermark stamp pad to emboss the birthday sentiment. I then sprinkled with Inkadinkado embossing powder in Black Metallic and heat set it.
I then used the leaf stamp to emboss with Inkadinkado’s Copper embossing powder.
The rest was just attaching all the pieces together. I used my Pink Scotch ATG gun to adhere each piece and some X-Press It foam mounting tape to adhere the It’s Your Birthday 3 x 3″ square to the 3 1/2 x 3 1/2″ wood grain cardstock for some dimension, kind of a 3D look.
That’s it! Very easy and a fun little project for a Sunday afternoon.
So, what do you think?
Materials Used:
Craft Smith Botanical Bliss Paper Pad: http://bit.ly/2B0wZfk
Tim Holtz Distress Ink in Walnut Stain (not oxide): http://amzn.to/2ivrUnO
Tim Holtz Mini Blending Tool: http://amzn.to/2B2ZitG
KW Craft Square Cutting Die: http://bit.ly/2zUxNCf
Cuttlebug by Cricut Anna Griffin version: http://amzn.to/2yY9ke3 (These are usually on sale on HSN.com – Check for a sale or free shipping)
VersaMark Watermark Stamp Pad for Embossing: http://amzn.to/2hCtsLL
Embossing Craft Heat Gun: http://amzn.to/2z1RAyF
Embossing Powder (They don’t appear to have the kit I bought anymore, I bought Inkadinkado – But this is very similar and I highly recommend the WOW brand, they’re very affordable and great quality): http://amzn.to/2zSJvj1
Pink Scotch ATG Adhesive Gun: http://amzn.to/2B4X2lE
X-Press It High Tack Foam Mounting Tape: http://amzn.to/2iyJHKT
We R Memory Keepers Punch Board: http://amzn.to/2yYdkez


